
In this tutorial, we will be explaining the steps to install Next Cloud on Ubuntu 16.04 server. As you are here to read the next cloud installation tutorial, you might be aware of Next Cloud and it’s usage. NextCloud is a free and open source file sharing platform that can be installed on a private server. NextCloud eliminates the need of using a third party cloud hosting platform for storing and using the information such as files, calendars, contacts etc. Being a fork of OwnCloud, the main difference of NextCloud from OwnCloud is that the software is completely open source. We will be going through the installation and configuration procedure without taking much time to explain the features of next cloud. To know more about nextcloud, just check out the official next cloud website.
– Putty for connecting to server – A user with sudo privileges – LAMP stack – If you haven’t installed LAMP stack on the server, follow our tutorial to install LAMP stack on Ubuntu 16.04. Special Note: This tutorial will be installing next cloud on the domain name http://example1.com/nextcloud. Please don’t forget to change the example1 with your domain name. Check our virtual host file creation tutorial for adding a domain name to the web server. It is a good habit to make sure that the system repositories are up to date before installing anything on the server. As usual, you can run the following command to update repositories
sudo apt-get update
The complete installation and configuration of next cloud on Ubuntu server includes the following steps
We need to install additional modules than that installed during LAMP stack configuration to work NextCloud properly. To install required PHP modules, run the following command
Please type Y when it asks for the confirmation to start the installation. 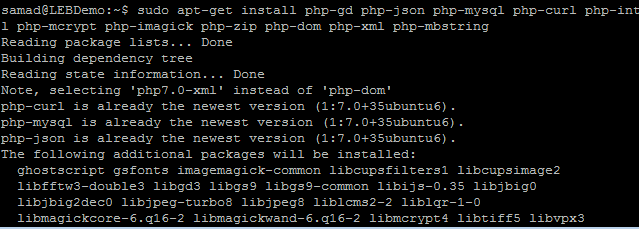
In this step, we will fetch the latest release of NextCloud to our server using wget command. The latest version of the nextcloud can be found here
wget https://download.nextcloud.com/server/releases/latest-11.zip
This command will save the “latest-11.zip” file in the current directory Use the “ls” command to list the file on current directory and confirm the file is fetched to the server. 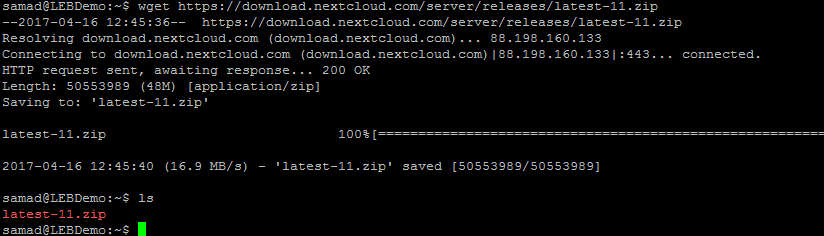
In this step, we will extract the “latest-11.zip” file in the current directory using the following command.
unzip latest-11.zip
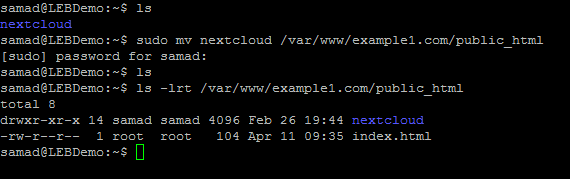
A new directory with the name nextcloud will be appeared upon extracting the zip file We will move the nextcloud directory into the domain path. In my case, the domain name is “example1.com” and the domain path from the root is /var/www/example1.com/public_html So I will use the following command in the putty box to move the nextcloud directory to the domain root path /var/www/example1.com/public_html
sudo mv nextcloud /var/www/example1.com/public_html
 Now we have all the files required for nextcloud is in the correct directory. However, we need to fix the ownership issues and permissions for files and directories to work nextcloud properly. You will receive an error message as like below when you try to access next cloud from the web browser before fixing the correct permission
 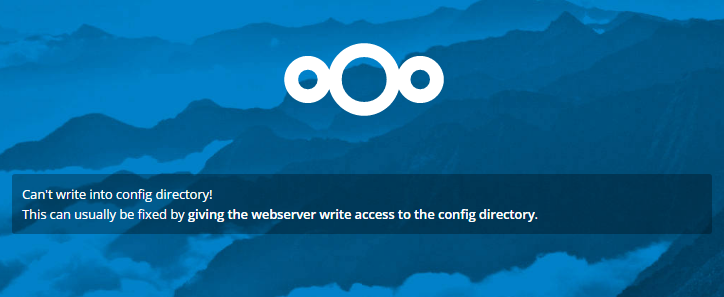 We can fix all the permission and ownership issues of nextcloud by running an official shell script. Create a new file named permissionfix.sh using the following command
sudo vi permissionfix.sh
Paste the following code into the permissionfix.sh. Please replace the “ocpath” with your actual path where your nextcloud files are placed
#!/bin/bash ocpath=’/var/www/example1.com/public_html/nextcloud‘ htuser=’www-data’ htgroup=’www-data’ rootuser=’root’ printf “Creating possible missing Directories\n” mkdir -p $ocpath/data mkdir -p $ocpath/updater printf “chmod Files and Directories\n” find ${ocpath}/ -type f -print0 | xargs -0 chmod 0640 find ${ocpath}/ -type d -print0 | xargs -0 chmod 0750 printf “chown Directories\n” chown -R ${rootuser}:${htgroup} ${ocpath}/ chown -R ${htuser}:${htgroup} ${ocpath}/apps/ chown -R ${htuser}:${htgroup} ${ocpath}/config/ chown -R ${htuser}:${htgroup} ${ocpath}/data/ chown -R ${htuser}:${htgroup} ${ocpath}/themes/ chown -R ${htuser}:${htgroup} ${ocpath}/updater/ chmod +x ${ocpath}/occ printf “chmod/chown .htaccess\n” if [ -f ${ocpath}/.htaccess ] then chmod 0644 ${ocpath}/.htaccess chown ${rootuser}:${htgroup} ${ocpath}/.htaccess fi if [ -f ${ocpath}/data/.htaccess ] then chmod 0644 ${ocpath}/data/.htaccess chown ${rootuser}:${htgroup} ${ocpath}/data/.htaccess fi
Write and quit from the vi editor by pressing Esc:wq + Enter Now run this script to fix the file permission issues by using the following command
sudo bash permissionfix.sh

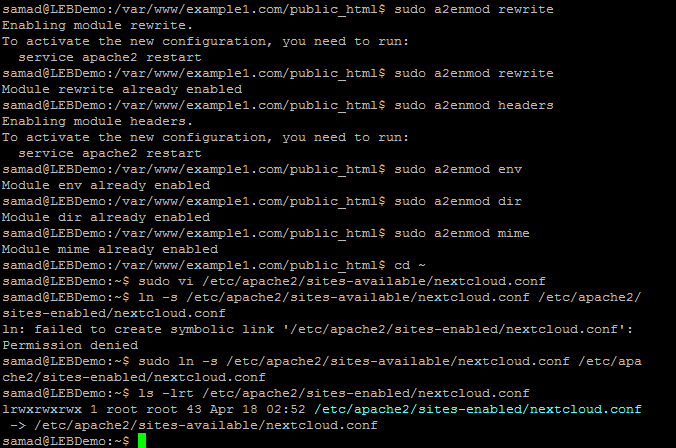
To work nextcloud properly on the server, the mod_rewrite should be enabled on the server. Just release the following command to enable mod_rewrite on the apache server
sudo a2enmod rewrite
Please install the additional recommended modules by using the following command lines. If these modules are already present on the server, you will receive an already enabled message. Just ignore it and move ahead to next step
sudo a2enmod headers sudo a2enmod env sudo a2enmod dir sudo a2enmod mime
Create apache configuration files by following the below steps
sudo vi /etc/apache2/sites-available/nextcloud.conf
Copy paste the following code into the file and save it. Please be vigilant to replace the paths in the following code with your actual path.
Alias /nextcloud “/var/www/example1.com/public_html/nextcloud/” <Directory /var/www/example1.com/public_html/nextcloud/> Options +FollowSymlinks AllowOverride All <IfModule mod_dav.c> Dav off </IfModule> SetEnv HOME /var/www/example1.com/public_html/nextcloud SetEnv HTTP_HOME /var/www/example1.com/public_html/nextcloud </Directory>
Now we need to create the symlink for this to /etc/apache2/sites-enabled
sudo a2ensite nextcloud
Even you can enable the site by using the following command
sudo ln -s /etc/apache2/sites-available/nextcloud.conf /etc/apache2/sites-enabled/nextcloud.conf
 Once done, reload apache to activate the changes by releasing the following commands
sudo systemctl reload apache2
We have all the setup files ready for nextcloud installation. Now we need to create a database for nextcloud. Just follow the below procedure to create a database for the nextcloud. Use the following command to access the MySQL database
mysql -u root -p
It will ask you to enter the MySQL root password. Please type your MySQL root password and enter to the MySQL command prompt Now, create a database for nextcloud using the command below. You can replace the database name “ncdatabase” with any name that you wish. I suggest you not to use nextcloud as database name for security reasons.
CREATE DATABASE ncdatabase;
In the next step, we will create a database user and will assign the user to the created database with all privileges
CREATE USER ‘ncuser’@’localhost’ IDENTIFIED BY ‘MyStrongPassword@123’;
Replace “ncuser” with the database username you wish and “MyStrongPassword@123” with a strong password Now assign the user “ncuser” to the database “ncdatabase” with all privileges. Please don’t forget to replace database user name and database name with your actual database name and username
GRANT ALL ON ncdatabase.* TO ‘ncuser’@’localhost’; FLUSH PRIVILEGES; exit;
In this step, we will configure the nextcloud through the web-based installation procedure. To start the installation, just load the domain name on a web browser. In my case, I will load http://example1.com/nextcloud to initiate the installation

After the successful installation, you will receive the following screen on your browser where you can start managing your files 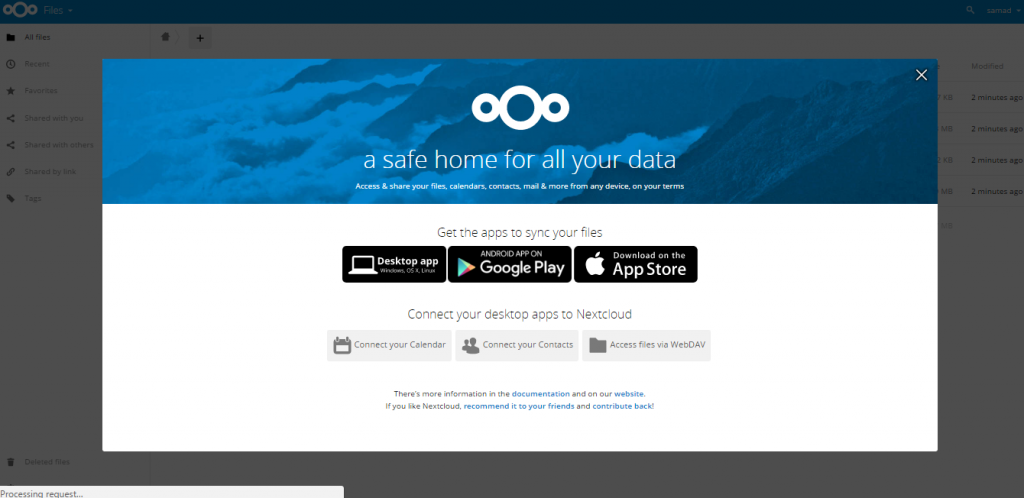
If you have followed our tutorial correctly, you will be on the nextcloud dashboard right now. Just refer the official administration manual to configure additional settings for nextcloud. Let us know if you face any issue with nextcloud installation on Ubuntu 16.04