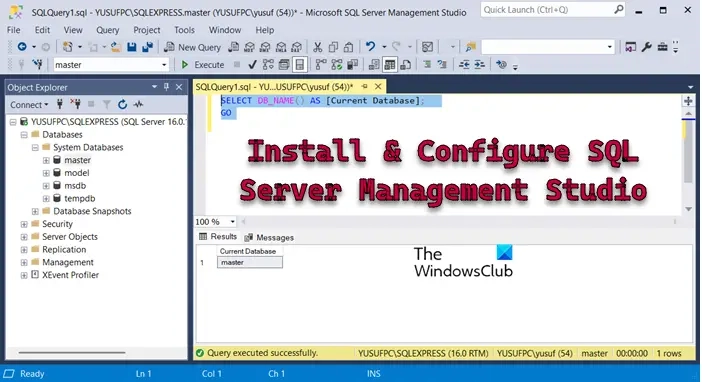
Step-By-Step Guide to Installing and Configuring SQL Server Management Studio on Windows 11

SQL Server Management Studio, or SSMS, provides a platform to connect to a SQL server and execute queries. This guide will cover the steps to install and configure SQL Server Management Studio on Windows 11/10 and also how to download and connect a SQL Server to SSMS.
Here are the detailed steps for installing and configuring SQL Server Management Studio:
First, you need to download SQL Server Management Studio onto your computer. Visit learn.microsoft.com and scroll down to find the Download SQL Server Management Studio link. Click on it to start downloading the executable file for installation.
After securing the SSMS executable file, initiate its setup by running the file. You might select the installation directory or use the default settings and then select “Install.” Following a User Account Control prompt, confirm by clicking “Yes” and allow the installation to finish. It is essential to restart your computer after the installation wraps up.
While optional, installing SQL Server can be beneficial for local or test environments. Acquire SQL Server by visiting microsoft.com.
On the website, scroll until you find the “Download now” option linked with the Express version; although the Developer version is available, we’ll opt for Express in this tutorial. Commence the download for the SQL Server utility. Follow the subsequent instructions to install it on your system.
Post-installation, you should be able to view details such as the “Instance Name,” the path for “SQL Administration” housing the logs, “Features Installed” which leads to the installation media, and the “Version” directing to the resource folder.
To test the connectivity, click on Connect Now. It will open a Command Prompt window showing the version information. If you see that screen, you can rest assured that the installation was successful.
Finally, let us connect to the SQL Server. To do this, we need to open the SQL Server Management Studio from the Start Menu. You see a connection box where every field will be populated automatically, you have to click on Connect to continue.
You can then access all the pre-installed databases, create new ones, and do whatever you want on this local server.
Read: How to create SQL Stored Procedures via SQL Server?
If you encounter an error stating that the certificate chain’s authority is not trusted while trying to connect to the server, it indicates that the validation of each connection’s certificate is set to mandatory. You can modify this setting to make certificate validation optional.
Additional information:
A successful initial connection to the server was established, but subsequently, an error occurred during the login process. The error reported was: “The certificate chain was issued by an authority that is not trusted.” This issue relates to the SSL Provider. (Microsoft SQL Server)
The error specifically notes that the certificate chain was issued by an untrusted authority.
To establish the connection, set the Encryption setting to Optional. Next, click Connect. This will initiate a connection without verifying your certificate.
This guide should assist you in downloading and setting up SQL Server Management Studio and establishing a connection to an SQL Server.
Read: Fix Unable to Install SQL Server on Windows 11
SQL Server Configuration Manager is part of the SQL Server installation, which can be performed using the previously mentioned steps. Although its default location is C:WindowsSysWOW64SQLServerManager16.msc, you do not need to navigate to this path; instead, you can simply search for it and open it via the Start Menu.
Read: How to install SQL Developer in Windows 11?
Yes, you can run SQL Server on both Windows client (which includes Windows 11 and its predecessor) and Windows Server operating systems. However, SQL Server 2016 and older versions are not compatible with Windows 11 or Windows Server 2022 systems.
Also Read: Difference between SQL and MySQL: Comparison.
Published on August 21, 2024
July 25, 2024
July 18, 2024
August 13, 2024
August 9, 2024
Hudson Valley Host is premier provider of cutting-edge hosting solutions, specializing in delivering a seamless online experience for businesses and individuals. We offer a comprehensive range of hosting services, including Shared Hosting, VPS, Dedicated Servers, and Colocation. With 24/7 technical support, robust security measures, and user-friendly control panels, we empower clients in managing their online presence effortlessly. Hudson Valley Host is your trusted partner in achieving online success.
For Inquiries or to receive a personalized quote, please reach out to us through our contact form here or email us at sales@hudsonvalleyhost.com.


